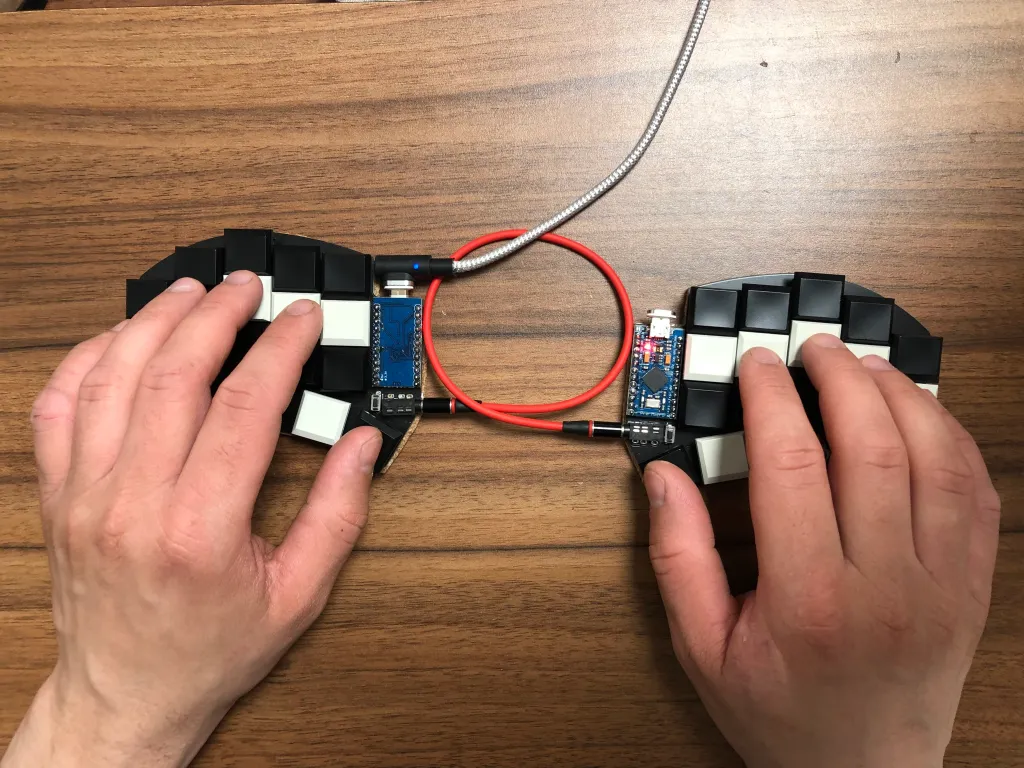
Today we’ll complement the previous post, which described building a 30%-club keyboard – the Ferris Sweep – with its programming aspect. I’ll go over the non-visual part of the keyboard: the layout I’ve been using on my 34-key Ferris Sweep in my daily work as a programmer.
Introduction
A keyboard layout is the assignment of specific functions to physical keys. This means programming your keyboard to send specific signals when pressing certain keys.
For example, a QWERTY layout assigns a set of actions to each key and can be visualized by labeling each key with the function it should perform.
In the post 30% Keyboard Club – Ferris Sweep Review, I described the basics of keyboard firmware like QMK. Key features include:
- Layers
- Tap vs Hold
- Home Row Mods
- Programmability
If these terms are unfamiliar to you, I recommend checking out that earlier post.
34 Keys as the Programmer’s Primary Tool
It took me a while to find a complete layout – I’m currently on the 14th iteration. The discovery process itself significantly improved my productivity and helped me understand how I actually use my keyboard. Below is my current layout with a short explanation.
Default 34 Keys – Layer 0

The default layer is a Colemak-DH layout reduced to 34 keys. The bottom row plays the role of Home Row Mods. Colemak-DH places the most statistically frequent letters on the home row, so I moved my modifiers to the bottom row – a setup I really like.
Thumb assignments:
Left thumb:
- Tap:
Esc/ Hold:Shift - Tap:
Backspace/ Hold:Layer 3
Right thumb:
- Tap:
Space/ Hold:Layer 1 - Tap:
Enter/ Hold:Layer 3
This allows me to type without lifting my wrists. Fingers handle the letters; thumbs handle frequently used keys like space, backspace, and enter.
Layer 1 – Numbers and Special Characters

To enter Layer 1, I hold the Space key with my right thumb. This gives access to numbers and special characters. For example, to type 1, I press Space + A. It might sound complex, but I don’t need to move my fingers.
Typing 1+1 becomes Space + A C A. Try it yourself!
Write 1+1 using your usual keyboard, then try holding Space and typing ACA. Which feels more natural?
Layer 2 – FN Layer

This layer provides access to function keys (F1–F12), which I use frequently in IntelliJ. For example, F12 is Enter + M.
This setup lets me keep my hands on the keyboard. Try hitting F12 on a traditional keyboard without lifting your hands. Comfortable?
It gets even more interesting with combinations like Alt+Shift+F12, which on a traditional keyboard requires stretching. On my Ferris Sweep, I just press Enter + Z + C + M. It might be one more key, but everything is under my fingers.
Move the keys under your fingers, not your fingers to the keys.
Layer 3 – Brackets and Navigation

Activated with the left thumb Backspace key, this is my second-most-used layer. The left hand handles all kinds of brackets and the Tab key. The right hand turns the home row into arrow keys.
To press the down arrow, I don’t reach for the inverted-T key cluster. I just hit Backspace + N.
Yes, it’s one extra key – but try it and see what’s faster and more comfortable: moving your hand or just pressing one more key under your fingers?
Layer 4 – Media and Mouse Control

This final layer includes multimedia keys and mouse control (yes, QMK lets you move the cursor using your keyboard). I activate it by pressing Backspace (left thumb) and Space (right thumb) together.
Left hand: volume control, mute, play/pause, next/previous track
Right hand: mouse movement and advanced functions
Conclusion
The Ferris Sweep is definitely a keyboard that requires some adjustment to use effectively, especially with just 34 keys. But the principle holds: don’t move your fingers to the keys – move the keys to your fingers.
34 keys forces efficient use of layers and dual-purpose keys. I probably don’t need to convince any serious programmer or writer that keyboard shortcuts are the most efficient way to work. Copying, for instance, is faster with CMD+C than with the mouse.
Ferris Sweep takes that shortcut philosophy to the next level. There is a learning curve, sure – but I now use this layout on both my main keyboards (home: Dactyl Manuform, mobile: Ferris Sweep). Some key combos have become second nature.
I’m really curious – do you enjoy experimenting with keyboard layouts to improve efficiency?
Please share your experiences!
Thanks for reading!
Bartosz
